The PADI Buddy Check is a 5 step process that every diver undertakes before entering the water.
It is an easy to follow checklist that ensures that you check each piece of your equipment is working correctly before the dive.
Why is the PADI Buddy check important?
-The buddy check allows you to make sure each piece of diving equipment is safe and working as it should be. You can then make any necessary changes to your equipment before the dive.
-You are able to check that your diving equipment is fitted correctly. There are no loose items that could become looser when the equipment compresses, for example your weight belt.
-It prevents you from forgetting any vital piece of equipment.
-It familiarises yourself with your buddies diving equipment. For example the location of their alternative air source or their weight system.

How to remember the PADI buddy check?
The Acronym that we use to remember the 5 steps is ‘BWRAF’ Most diving instructors will teach you a silly sentence to help you remember the 5 steps easily.
The sentence I use is:
-Big Whales really are fun
Other sentences you can use include:
-Bruce Willis ruins all films (sorry Bruce!)
-Beans with rice and fish
-Big White Rabbits are fluffy
-Burgers with relish and fries.
So pick one of these sentences, or create your own and let’s dive into what each letter stands for!

1. B = BCD/BUOYANCY
Firstly we are going to check that our BCD is inflating and deflating correctly and also check for any leaks from the BCD or the connecting hoses.
- Inflate your BCD fully using your manual inflation button.
- Then deflate your BCD fully using your manual deflation button.
- Inflate your BCD again using your manual inflation button.
- Deflate your BCD using your top dump valve.
- Inflate your BCD for a final time using your manual inflation button.
- Now deflate your BCD using your back dump valve.
- Lastly inflate your BCD fully using your oral inflation button.
- Deflate the BCD using your preferred method of deflation.
While you are completing these steps, this is what you want to be checking for:
- That your BCD is inflating correctly with no leaks and the top dump valve is secured correctly.
- That the buttons on your inflator hose are easy to press and do not become stuck when inflating or deflating (a stuck inflator button is a common problem with a new BCD that is greased with silicone from the manufacturer)
- That you have easy access to your top and bottom dump valves and they are hanging freely. A common problem is the top dump valve caught in your top squeeze clip or the back dump valve caught in your weight belt.
2. W = WEIGHTS
When checking your weight system, you want to make sure:
-The weight belt is secure, nice and tight, comfortable and will not come loose.
-If you or your buddy are using an integrated weight system (weight pockets) identify the location of the weight pockets, make sure they are fully locked into the BCD and identify the quick release system of the weight pockets.
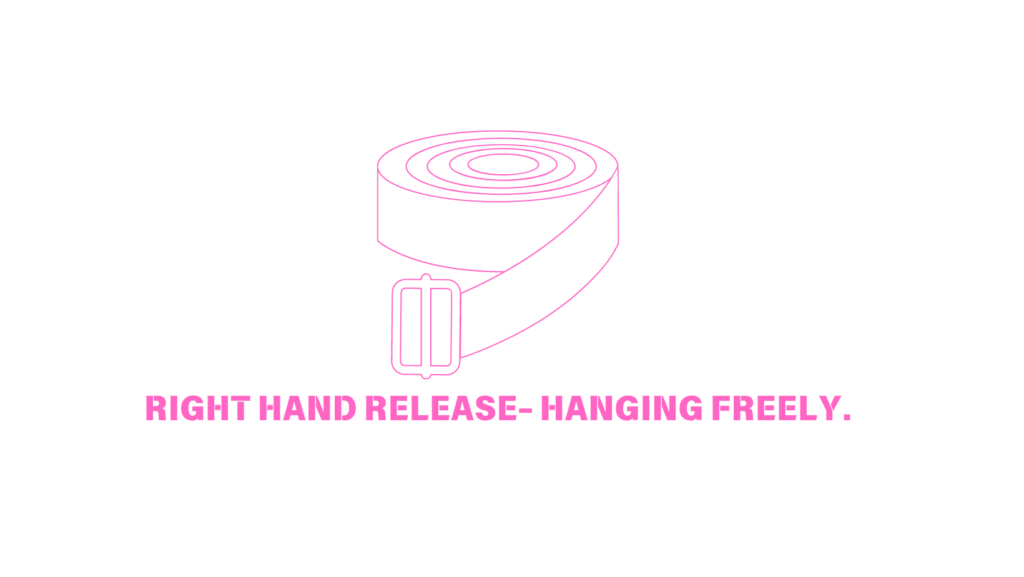
-Remember to check that the weight belt is a right hand release system. This is the universal way of wearing the weight belt so that everyone knows how to access and release the weight belt in case of an emergency.
-Make sure that the weight belt is hanging freely. It is not tucked away or tied up. It is important to have easy and quick access to the weight belt.
3. R= RELEASES
You will now check that all of your equipment is connected correctly and is secure.
- Check your top squeeze clip is connected.
- Check your middle squeeze clip is connected.
- Check that your cummerbund is connected and is relatively tight as when the equipment compresses the cumberband will become loose underwater.
- Check your two side squeeze clips.
- And perhaps most importantly have your buddy check that your cylinder band is connected securely to your tank and the safety catch is over the cylinder valve.
- Check your top squeeze clip is connected.
You want to make sure that all the equipment is comfortable, secure and not tangled in anything. All connection points should be easy to access so that you can remove the equipment in case of an emergency.
Become familiar with the squeeze clips on your buddies equipment as depending on the brand and model the equipment can differ greatly.
4. A = AIR
Locate your SPG (air gauge) and look at this while completing the following steps.
- Take some deep breaths from your regulator.
- The needle on your SPG should be holding steady. If the needle moves backwards and forwards your cylinder is not turned on correctly.
- Now locate your alternative air source and take some deep breaths to make sure this is working correctly.
- Smell the air in the cylinder by pressing the purge button on the back of the regulator. The air should not smell like petrol or rotten eggs. If you detect a strange smell do not dive.
- Make sure your alternative air source is located in the triangle area of your body and you have free and easy access to this.
- Locate your buddies’ alternative air source and familiarise yourself with how their system works.
Here you are also able to check that the regulator is not free flowing so listen out for small bits of air escaping from any connection point.
You should be able to breathe freely from your regulator with no sticking and with little to no effort.

5= FINAL CHECK
Now we are on to the last step of the process. We want to check that we have:
-Our mask and snorkel
-Fins
-Diving computer
-And any other specialised equipment that may be needed for that diving location.
Check that your diving buddy is ‘OK’ and ready for the dive.
It is very common for divers to become complacent the more they dive and you often see divers skip the PADI buddy check. But for your safety and comfort it is vital that before every dive you undertake these 5 steps. If your buddy forgets, politely remind them and complete the process together. Preparation goes a long way in ensuring a safe and comfortable diving experience.

